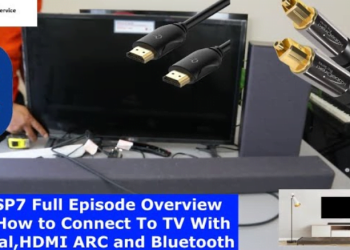
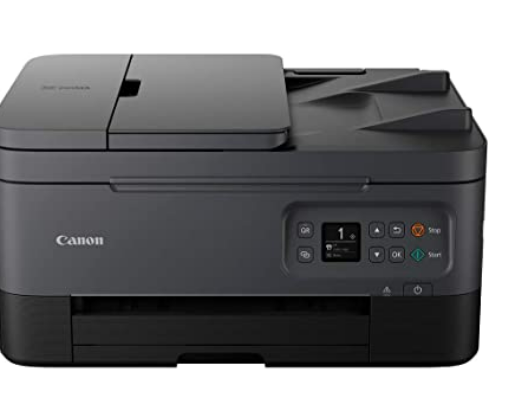
Today we will be discussing on how one can connect canon PIXMA TS 7450 to the Wi-Fi network. Just stay focus as we go.
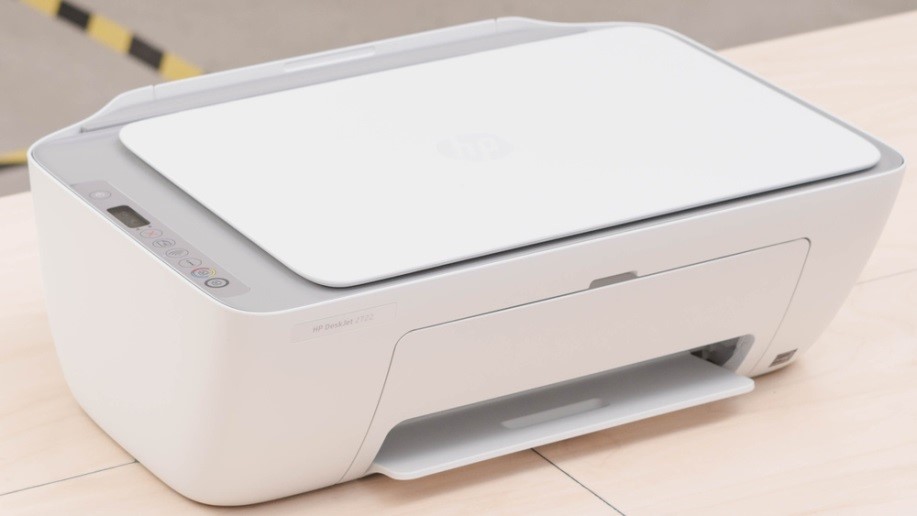
About printer:
- This printer is multifunctional.
- Multi-task.
- Triple in 1, (you can copy, scan, and print)
- Compatible with PC and Mac
- 100 sheet paper capacity
- Fits paper up to A4
- Scanner and copier
- 1200 X 1200dpi optical resolution
- 4800 X 1200dpi print resolution
- 4800 X 1200dpi color print resolution
- Uses dual band connection. (USB cable and WiFi network). Unfortunately, USB cable not included. But you can order for USB cable from Vinneltech store. Delivery across abroad.
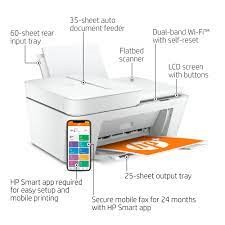
Features:
- Suitable for office/photo printing
- Can print image directly from digital camera
- Bluetooth wireless technology enabled
- Weight 8.2kg
- Photo editing software included
- Ink cartridges included
- 1 year guarantee
HOW TO CONNECT THE PRINTER (CANON PIXMA TS 7450) WITH WI-FI NETWORK
- It can be connected via WIFI direct and also wireless network.
- Click ok from the menu on the screen
- Click on line settings (click ok)
- Click on WIFI (on the next screen that displays)
- Select WIFI set up (click ok)
- Click on easy wireless connection (click ok)
- Click on connect with smartphone.
Now go to your mobile phone and follow this steps
- Go to play store and download “Canon PRINT inkjet / SELPHY” APP
- Click it open
- Search for available printer
- Click ok when the following appears “setup WIFI for the following printer CANON Inkjet TS 7400 series”
- Click connect
- Canon TS connected will display on the screen
- Go back
- Select wireless router
- Put WIFI details (password)
- Click ok
- Easy wireless Wi-Fi has been complete
- Click ok.
- Acquiring printer information
Printer connected and good to go you can see it from your mobile app. You can now decide to print your favorite images, document directly from your mobile phone.
I hope you find this was helpful and hopefully it would make your office work a lot easier for you now. Just follow the steps to enjoy and increase your work productivity with this printer.
If you enjoyed this tutorial, you can do us well by liking, comment, and share. And don’t forget to also subscribe to this blog.