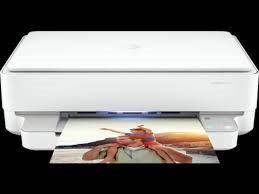
HP has been known for beautiful gears, one of it is this beautiful HP envy 6032 ALL IN ONE Wireless Printer which is very easy to operate as well as light in weight. So that’s why I will showing you an easy step to install the ink cartridges easily to keep enjoying this beautiful gear. I hope you find this article helpful as you read step by step.
About the printer:
- Multi-functional
- Multi-tasking
- Triple in one (copy, scan and print)
- Up to 70% discount on ink
- 3 months ink trial
- Not heavy built with your space in mind
Ink cartridges:
- Uses 305 black, and
- 305 three colors (red blue and yellow)
Cables:
The printer has access for:
- Power cable
- Usb cable (but the printer doesn’t come with USB cable)
HOW TO INSTALL THE INK CARTRIDGE
- Open the cartridges cover.
- Once you do, the cartridges will move to the middle.
- You can identify the black color and multiple color cartridge from the printer.
- Open the inks carefully and load according to colors
- Once you load the inks, close the printers cover, it will move from the middle to the corner.
- Push the printer cartridge carefully until you hear the cling sound
- Do the same also for both black and color cartridge
- Once you done close the cartridge cover and the printer will recognize it immediately. (Ink signal stops flashing).
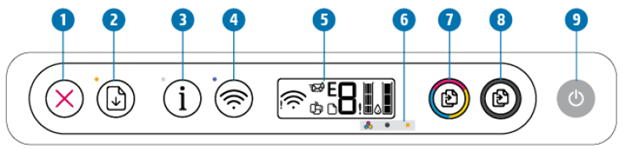
Once you upload the ink cartridge it will show from the printer screen and once the ink runs out, it will show you the signal from the printer. Don’t forget you can get free inks once you register with hp service.
Conclusion:
With this few tips, I hope this was helpful? Do like comment and share as well as subscribe to our blog.