If you’ve purchased the Epson XP-3155 printer, you might have forgotten how to connect it to your wireless network to get it working on your home network setup. In this step-by-step guide on connecting an Epson XP 3155 printer to a Wi-Fi Network, you’ll learn exactly what steps you need to take to get your Epson XP 3155 wireless printer up and running and connected. enjoy printing from any networked device by following these simple instructions.
About the Epson XP 3155 Printer
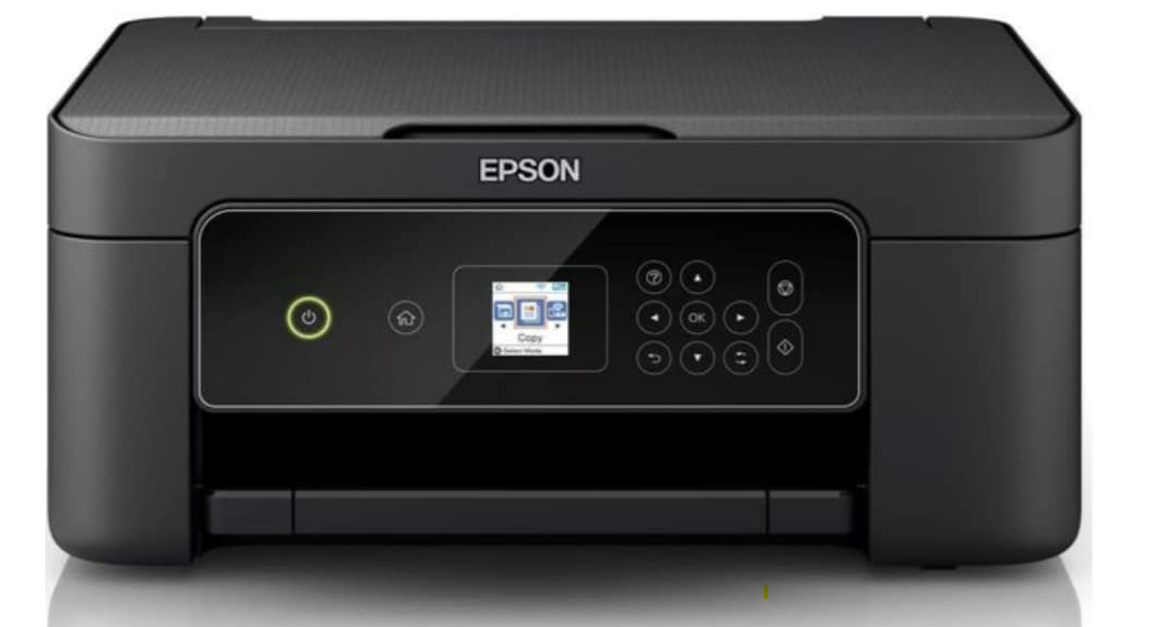
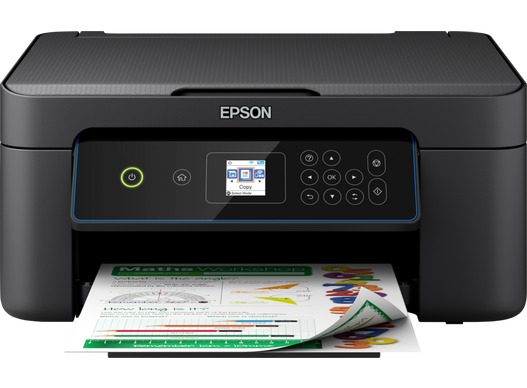
The Epson Expression Home XP-3155 Wi-Fi Printer is the first wireless printer in its class. It can send high-quality prints wirelessly and with ease. This printer offers a variety of features, such as auto duplex printing, borderless printing, automatic photo cropping, and four individual ink tanks for maximum color saturation.
It is a small printer designed for home use. It can print documents and pictures and has Ethernet and Wi-Fi integrated right in. The printer also has a 2.7-inch color LCD.
The XP-3155 uses four cartridges: black, cyan, yellow, and magenta. The cartridges come in regular and XL sizes. The standard cartridges have a page yield of up to 175 pages, while the XL cartridges have a page yield of up to 500 pages.
The printer can produce 3,000 pages per month at its full capacity. This shows how you can produce up to 3,000 papers each month without damaging your printer. The XP-3155 supports borderless printing on sizes up to 8.5×11 inches. It can also print on envelopes and labels.
The Epson XP 3155 Printer Benefits
- Can be used to print photos.
- Easy to use.
- Comes with Wi-Fi connectivity for easy setup.
- Offers mobile printing capabilities.
- Includes a 2.7-inch color LCD for easy navigation.
- for scanning or copying, multiple pages have an automated document feeder (ADF).
- 5760 x 1440 dpi is the highest resolution that the printer can produce.
- The Epson XP-3155 also features automatic duplex printing, borderless printing, and support for a variety of paper sizes and types.
How to install printer drivers for an Epson XP 3155.
- Download and install the current drivers fromEpson.com.
- Double-click the file you downloaded and read its installation manuals accept its terms and click ” Accept”
- Reboot the computer after installation for the changes to take effect.
How to Remove the Epson XP 3155 Printer Driver
- On the Start Menu, select the “device and printer option and click on it
- Select Remove Device from the option that comes after clicking your Epson XP-3155 printer.
- Enter the administrator password or any other mandatory confirmation if prompted.
- On the driver tab section click “uninstall”
- to complete the removal process, you will need to follow the instruction on your screen
How to Connect Epson XP 3155 printer to computer using USB Cable.
- By using a USB cable to connect your computer to your Epson XP-3155 Printer
- Make sure that you have turned on your printer before Connecting the Epson XP-3155 printer
- Click “Control Panel” from the Start Menu.
- Go to Devices & Printers and then Add Printer.
- Click on “Add a Local Printer.”
- Click Next after selecting the port to which the Epson XP-3155 printer is connected.
If you are not sure which port to select, try selecting all of them one at a time until you find the one that works for your printer. For more information on which port to use, you can also look in the instruction manual that came with your printer.
What is the WiFi connection step for an Epson XP 3155 printer?
- Get your smartphone and go to the google play store to install the “Epson Smart Panel”.
- Answer some of the questions after they are opened. then click “ok.”
- The next step is to connect the device you would want to connect, which is the Epson XP-3155 printer.
- You must provide your Wi-Fi login information after clicking “next” (which can be gotten from the back of the router).
- You can click ok after entering the credentials in the box given.
Click “yes” if you want to join the network to a Wi-Fi network.
Please be patient as it connects.
Once finished, it will display the next screen and you can let it finish setting up. Now our printer is successfully linked to a wireless network. Now you may enjoy wireless printing, scanning, and sharing.