

Shop
Showing 1–25 of 32 resultsSorted by latest
-

Canon Pixma TS3751i: Configuración Wi-Fi con Teléfono y Prueba de Impresión
$20.99 Add to cart -

Canon Pixma TS3751i – WLAN-Einrichtung mit Smartphone und Druckertest
$20.99 Add to cart -

Configuration Wi-Fi de l’imprimante Canon Pixma TS3751i avec un téléphone et test d’impression de page
$20.99 Add to cart -
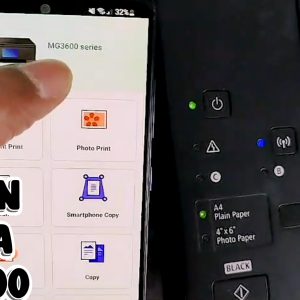
Cómo conectar Canon MG3650, MG3650S y MG3600 al WiFi e imprimir desde el teléfono
$20.99 Add to cart -
Canon MG3650, MG3650S und MG3600 mit WLAN verbinden und vom Smartphone drucken
$20.99 Add to cart -
Comment connecter Canon MG3650, MG3650S et MG3600 au WiFi et imprimer depuis un téléphone
$20.99 Add to cart -

Unisex Hoodie
Price range: $34.00 through $37.00 Select options This product has multiple variants. The options may be chosen on the product page -

Unisex t-shirt
Price range: $16.00 through $23.50 Select options This product has multiple variants. The options may be chosen on the product page -

Old School Bucket Hat
$26.50 Select options This product has multiple variants. The options may be chosen on the product page -

Unisex Hoodie
Price range: $35.50 through $39.00 Select options This product has multiple variants. The options may be chosen on the product page -

Set of pin buttons
Price range: $11.00 through $12.50 Select options This product has multiple variants. The options may be chosen on the product page -

Ladies’ Muscle Tank
Price range: $21.50 through $22.50 Select options This product has multiple variants. The options may be chosen on the product page -

UK Student CV Template – Ages 16-21 (Canva)
$5.49 Add to cart -

Purple Dream Wallpaper Pack – Desktop & iPhone Wallpaper (6K Ultra HD)
$16.00 Add to cart -

Sunset-Layers Wallpaper Pack
$16.00 Add to cart -
How to Position Content on Letterhead – Video Tutorial + PDF Guide
$19.00 Add to cart -

Pink/Rose Gradient Wallpaper Pack
$16.00 Add to cart -

Mint Green Gradient Wallpaper Pack
$16.00 Add to cart -

Sunset Orange/Red Gradient Wallpaper Pack
$16.00 Add to cart -

Ocean Blue Gradient Wallpaper Pack
$16.00 Add to cart -

Purple Gradient Wallpaper Pack
$16.00 Add to cart -

Hisense AX5100G Soundbar Complete Setup Guide -5.1 Channel System
$13.00 Add to cart -

HP LaserJet 135w Complete WiFi Setup Guide
$12.00 Add to cart -

Canon PIXMA TS3451 QR Code Setup Guide -Complete Wireless Solution
$10.00 Add to cart -

Windows 10 Shortcuts Reference Card PDF-Keyboard Shortcuts Guide
$6.99 Add to cart